 Skip to content
gluten free chicken strips are my go to fix for those nights when everyone is hungry and nobody wants a complicated dinner. I used to miss that crunchy, dippable comfort food vibe once we switched to gluten free, and honestly I got a little salty about it. Then I started testing my own coating combos until I found the one that actually gets crispy and stays that way. If you like having a few chicken ideas in your back pocket, you should also peek at these gluten free chicken recipes I keep bookmarked because it saves me on busy weeks. Today I am sharing the exact method I use, plus my best little tricks so yours come out golden and juicy. 
How to make gluten free chicken tenders
I am not fancy about this recipe, but I am picky about the steps. The biggest secret is setting up a simple dredge line and pressing the coating on like you mean it. These gluten free chicken strips come out crunchy on the outside, tender inside, and they reheat surprisingly well if you do it right.
What you will need
- Chicken: 1 to 1.5 pounds chicken tenders, or slice chicken breast into strips
- Dry mix: 3/4 cup gluten free flour blend, 1/2 cup cornstarch, 1 to 2 teaspoons paprika, 1 teaspoon garlic powder, 1 teaspoon onion powder, 1 teaspoon salt, black pepper
- Wet mix: 2 eggs plus 2 tablespoons milk or dairy free milk
- Crunch layer: 1 to 1.5 cups gluten free panko or crushed gluten free cornflakes
- For cooking: neutral oil for frying, or oil spray for air fryer or oven
Simple step by step directions
Set out three shallow bowls. Bowl one gets the gluten free flour blend, cornstarch, and all your seasonings. Bowl two gets whisked eggs and milk. Bowl three gets the gluten free panko or cornflake crumbs.
Pat the chicken dry with paper towels. This sounds small, but it helps the coating stick and crisp. Dip each strip into the seasoned flour first, then egg, then the crumbs. Press the crumbs on with your fingers so it really grabs. Put the coated pieces on a plate and let them sit for 5 to 10 minutes while your oil heats up. That little rest time helps the coating set.
To fry: heat about 1/2 inch of oil in a skillet on medium to medium high. When a crumb sizzles right away, you are ready. Cook strips 3 to 4 minutes per side, depending on thickness, until deep golden and cooked through. I like to move them to a wire rack so they stay crispy.
To air fry: spray the basket, then spray the tops of the strips. Cook at 400 F for about 10 to 12 minutes, flipping halfway, until browned and cooked through.
To bake: set on a rack over a sheet pan, spray with oil, and bake at 425 F for 16 to 20 minutes, flipping once.
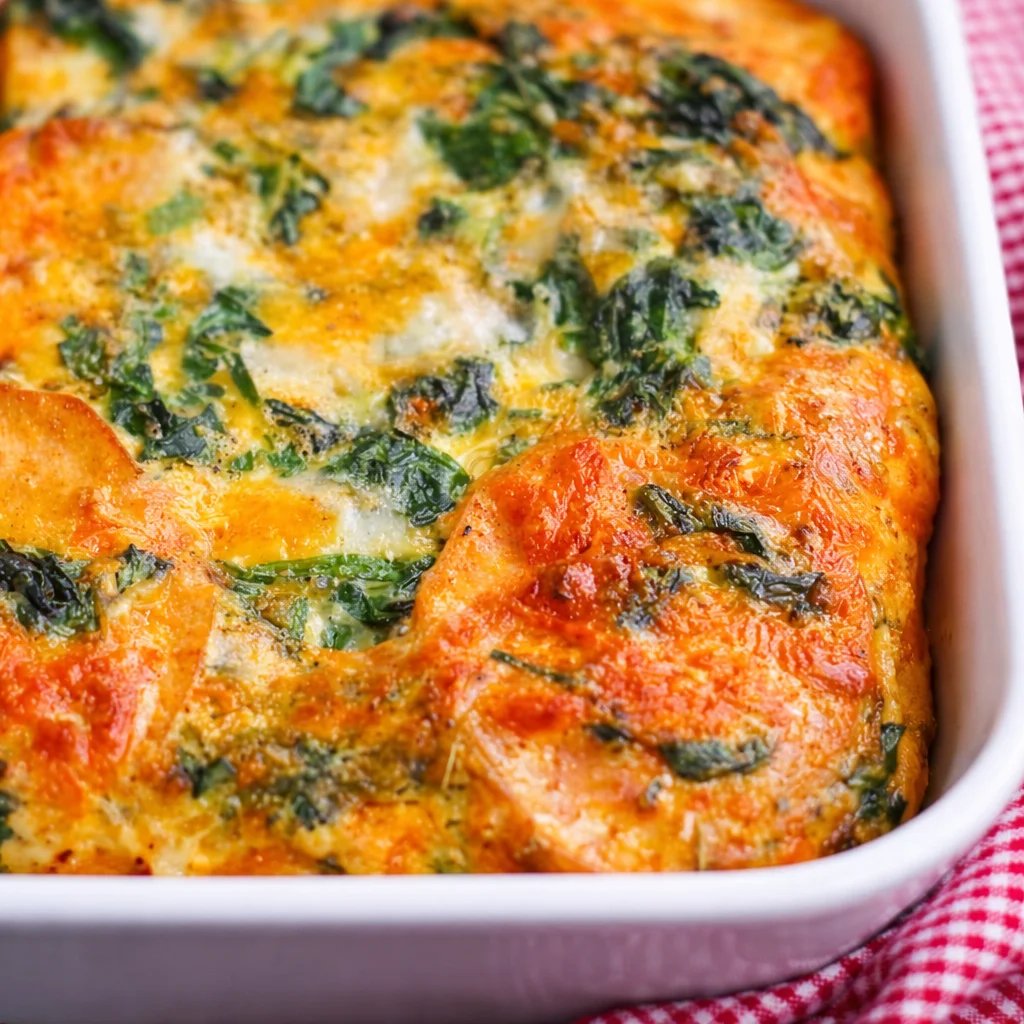
If you need a quick side idea, I sometimes pair these with a simple bowl dinner like this gluten free chicken rice bowl when I want a full meal without extra thinking.
;

Expert tips
I have made these enough times to know what causes the sad, soggy coating situation. Here are the things that actually matter, in plain language.
Use cornstarch. Cornstarch is the crunch helper. It lightens the flour layer and helps everything crisp up faster.
Do not skip drying the chicken. Wet chicken makes the coating slide off. A quick pat dry changes everything.
Season every layer. A little salt and spice in the flour is good, but a pinch in the crumbs is what makes them taste like something. I also like paprika for color.
Press the crumbs on. A gentle pat is not enough. I press so the coating looks packed on. This is especially important for gluten free chicken strips because gluten free crumbs can be a little stubborn.
Watch oil temperature. If the oil is too cool, the coating soaks it up and gets heavy. If it is too hot, the outside browns before the inside cooks. Medium to medium high is the sweet spot in my kitchen.
Use a rack. Paper towels trap steam. A rack lets air circulate so the coating stays crisp.
“I made these for my kid who is gluten free and my husband who is not, and they both went back for seconds. The coating actually stayed crunchy even after they sat on the table for a bit.”
And if you are in a chicken mood lately, my other crispy favorite is this gluten free chicken parmesan, which gives the same comfort food energy with a saucy twist.
Ingredient substitutions
This recipe is pretty flexible, which is handy when you open the pantry and realize you are missing something. Here is how I swap ingredients without wrecking the crunch.
No gluten free panko? Use crushed gluten free cornflakes, crushed rice cereal, or even crushed gluten free crackers. Cornflakes give the loudest crunch.
No eggs? Use a thick dairy free yogurt mixed with a splash of water, or use a little mayo thinned out. You just need something sticky so the crumbs hold on.
No cornstarch? Potato starch works great. Tapioca starch also works, but it can brown a little faster.
Want more flavor? Add grated parmesan if you tolerate dairy, or add a pinch of cayenne, dried oregano, or Italian seasoning. If you love garlicky chicken, you might also like this honey garlic chicken for a totally different vibe on another night.
Need dairy free? Use almond milk or oat milk in the egg wash. Just make sure your crumbs are dairy free too.
Need to keep it simple? Even just salt, pepper, and garlic powder will still taste good. Do not overthink it.
Why You’re Going to Love These GF Chicken Tenders
I know everyone says their recipe is the best, but here is why I keep coming back to this one. First, the coating is actually crunchy, not gritty or weird. Second, the seasoning tastes like real comfort food, not like you are eating plain chicken with crumbs.
Also, these are fast. Once your bowls are set up, you can crank out a batch pretty quickly. They are great for picky eaters, game day snacking, or that moment at 5:30 when you realize you need dinner right now.
And I like that these gluten free chicken strips work three ways: fry, air fry, or bake. I do air fryer on weekdays, and shallow fry when I want that true restaurant crunch.
Tips for Making Gluten-Free Chicken Tenders
This section is basically the stuff I wish someone had told me the first time I tried gluten free breading.
Cut strips the same size. If you slice your own, aim for similar thickness so they finish together.
Do a quick rest before cooking. Even 5 minutes helps the coating cling.
Do not crowd the pan. Crowding drops the heat and makes them steam instead of crisp. Cook in batches and keep finished pieces warm in the oven.
Check doneness the easy way. The safest bet is a meat thermometer. I pull chicken at 165 F. If you do not have one, cut the thickest strip and make sure it is not pink and the juices run clear.
Dip ideas. Ketchup is classic, but I also love honey mustard, ranch, buffalo sauce, or a simple mix of mayo and hot sauce.
Common Questions
Can I make these ahead of time?
Yes. Bread them and keep them on a tray in the fridge for up to 8 hours. Cook right before eating for best crunch.
How do I store leftovers?
Let them cool, then store in a sealed container in the fridge for up to 3 days. Put a paper towel under them if they are still a little warm to catch moisture.
What is the best way to reheat so they stay crispy?
Air fryer at 375 F for 3 to 5 minutes is my favorite. Oven works too. I avoid the microwave unless I am desperate.
Can I freeze them?
Yes. Freeze cooked strips on a tray, then move to a bag. Reheat from frozen in the oven or air fryer until hot and crisp.
Why is my coating falling off?
Usually the chicken was too wet, or you skipped pressing the crumbs on. Also make sure you do flour then egg then crumbs in that order.
A crunchy little dinner win
If you try this, I hope it becomes one of those recipes you can make without stress. Keep the bowls simple, press the coating on well, and do not rush the heat, and you will get crispy results. If you want another trustworthy take on this same idea, check out Gluten Free Chicken Tenders – Eat With Clarity for more inspiration and variation. And if you end up on a chicken kick like I always do, circle back to this roundup of gluten free chicken recipes to keep dinner interesting. Now go make a batch of these gluten free chicken strips, grab your favorite dip, and enjoy that crunch you have been missing.


Gluten Free Chicken Strips
Ingredients
Main Ingredients
- 1 to 1.5 pounds chicken tenders or chicken breast sliced into strips
- 3/4 cup gluten free flour blend
- 1/2 cup cornstarch
- 1 to 2 teaspoons paprika
- 1 teaspoon garlic powder
- 1 teaspoon onion powder
- 1 teaspoon salt
- to taste black pepper
- 2 large eggs
- 2 tablespoons milk or dairy free milk
- 1 to 1.5 cups gluten free panko or crushed gluten free cornflakes
- neutral oil for frying, or oil spray for air fryer or oven
Instructions
Preparation
- Set out three shallow bowls. In bowl one, combine the gluten free flour blend, cornstarch, and all seasonings.
- In bowl two, whisk together eggs and milk.
- In bowl three, place the gluten free panko or cornflake crumbs.
- Pat the chicken dry with paper towels to help the coating adhere.
- Dip each chicken strip into the seasoned flour, then into the egg mixture, and finally coat in the crumb mixture. Press crumbs onto the chicken to ensure a good coating.
- Let the coated strips rest for 5 to 10 minutes while heating the oil.
Cooking
- For frying, heat about 1/2 inch of oil in a skillet on medium to medium-high heat. Once oil is hot, cook chicken strips for 3 to 4 minutes per side until golden brown and cooked through.
- For air frying, spray the basket with oil, then spray the tops of the strips. Cook at 400°F for about 10 to 12 minutes, flipping halfway through.
- For baking, set the strips on a rack over a sheet pan, spray with oil, and bake at 425°F for 16 to 20 minutes, flipping once.


1 thought on “Crispy and Delicious Gluten Free Chicken Strips You’ll Love”