Skip to content
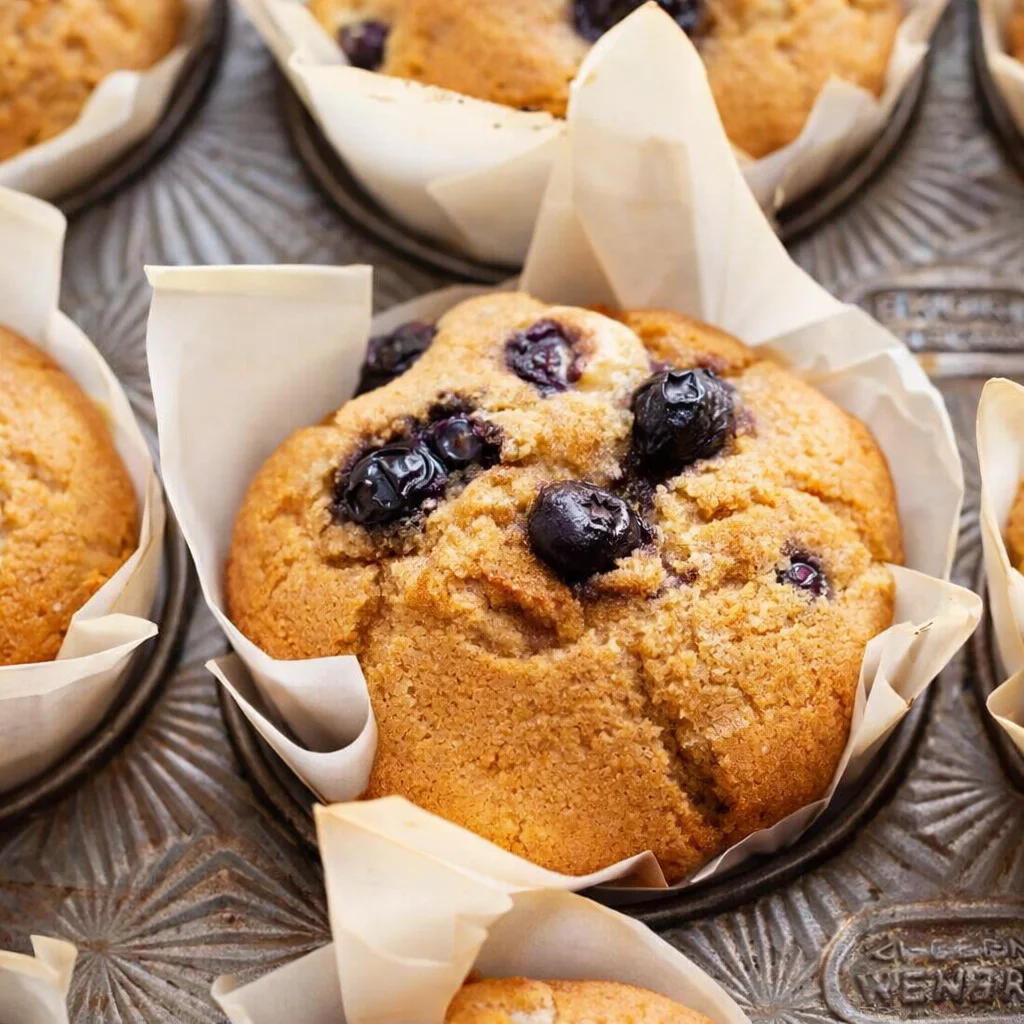
Gluten-Free Strawberry Muffins are my go to fix for those mornings when you want something cozy and sweet, but you also want it to actually hold together and taste like a real muffin. I started making these after a weekend brunch where everyone else had bakery treats and I was stuck with a sad snack bar. Not dramatic or anything, but I went home determined. These muffins come out soft, bright, and full of strawberry bits, and nobody can tell they are gluten free unless you tell them. If you have kids, picky friends, or a partner who thinks gluten free means cardboard, this recipe is for you. 
Too Good To Be Gluten-Free Strawberry Muffins
I know the claim sounds bold, but these really are the kind of muffins you set on the counter and they disappear. The secret is keeping the batter simple and not overthinking it. I wanted that classic muffin vibe: lightly sweet, fluffy middle, and a top that gets a little golden and smells like strawberry jam when it bakes.
These Gluten-Free Strawberry Muffins are great for breakfast, but I also bake them for afternoon snacking. They are especially nice when strawberries are in season, but honestly, I have made them with winter strawberries too. The trick is just to chop them small and pat them dry a bit so they do not flood your batter.
What you will need
- Gluten-free flour blend (one that says 1 to 1 baking flour works best)
- Baking powder
- Salt
- Sugar (white or light brown both work)
- Eggs
- Milk (dairy or non dairy)
- Oil or melted butter
- Vanilla extract
- Fresh strawberries, diced
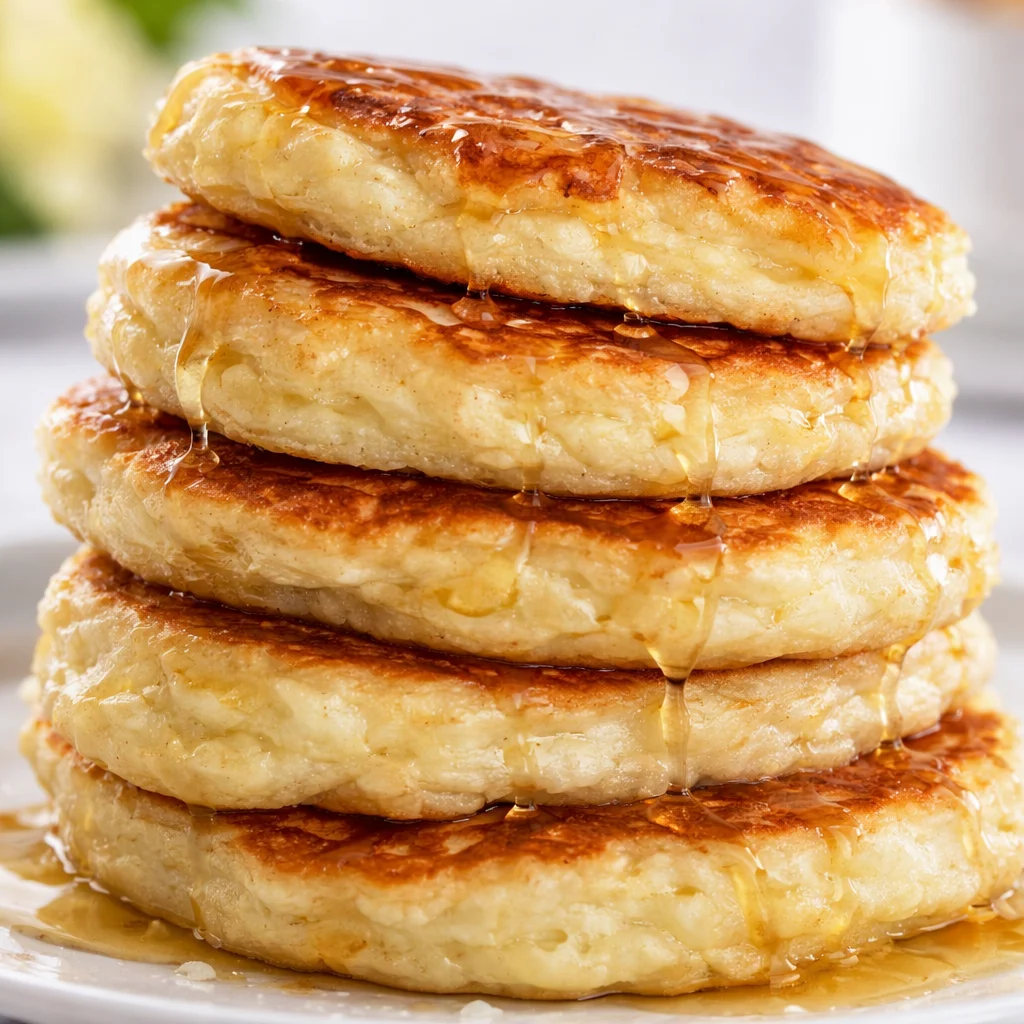
I usually keep it classic, but if you want a fun side bake for the week, these are awesome alongside my other muffin obsession: gluten-free blueberry muffins. It is the same cozy vibe, just a different fruit.
Basic method, super doable: mix dry in one bowl, mix wet in another, then combine. Fold in strawberries at the end. Fill your muffin cups, bake, and try not to burn your tongue because you absolutely will want one warm.
Here is a quick vibe check for doneness: the tops should look set, slightly golden, and a toothpick should come out mostly clean. A few moist crumbs are fine, but you do not want wet batter.

Pro Tips For Nailing The Fluffiest GF Muffins
Gluten free baking gets a bad reputation because people treat it like regular baking and hope for the best. I have done that too, and I have also eaten the results. So here are the little things that make a big difference.
Small moves that make a big difference
1. Do not overmix. Once the wet meets the dry, stir until you do not see big flour patches. Overmixing can make muffins dense, even without gluten.
2. Let the batter rest for 10 minutes. This is one of my favorite tricks for Gluten-Free Strawberry Muffins. It gives the flour time to hydrate so the texture bakes up softer.
3. Use room temp eggs and milk if you can. It helps everything blend smoothly and bake evenly.
4. Chop strawberries small. Big chunks create heavy wet pockets. Small pieces spread out the strawberry flavor in every bite.
5. Toss strawberries with a teaspoon of flour blend. This helps keep them from sinking.
Also, do yourself a favor and line the muffin pan or grease it really well. Gluten free muffins can be a little delicate when hot, so I let them cool about 10 minutes before moving them to a rack.
“I made these for my kids school snack day and three parents asked me for the recipe. Nobody believed they were gluten free. The strawberry smell alone got everyone hovering around the kitchen.”
If you like having something quick and cozy on hand, bake a batch and freeze half. They reheat beautifully. I pop one in the microwave for about 15 to 20 seconds and it is basically instant comfort.
Ingredient Tid Bits
This is the part where I tell you what actually matters when you are standing in the kitchen staring into your pantry.
Gluten-free flour blend: I strongly recommend a 1 to 1 blend meant for baking. Different blends behave differently, so if your first batch is slightly different, do not panic. If your blend does not include xanthan gum, add a little if the package suggests it. That helps with structure.
Oil vs butter: Oil tends to keep muffins softer for longer. Butter tastes amazing but can firm up a bit once cool. I use oil when I want a super tender crumb. I use butter when I want richer flavor. Both work.
Milk choice: Any milk works. If you use a sweetened non dairy milk, you might want to slightly reduce the sugar, but it is not a huge deal.
Strawberries: Fresh is best here. Frozen strawberries can work, but they can also turn your batter pink and extra wet. If frozen is what you have, do not thaw them fully. Chop while still a bit firm, then toss with flour and fold in fast.
Sweetness level: Strawberries vary a lot. If yours are super sweet and fragrant, you can cut the sugar a bit. If they taste bland, keep the sugar as written and consider adding a tiny squeeze of lemon juice to brighten things up.
One more note from experience: if you want a bakery style top, sprinkle a pinch of sugar on each muffin before baking. It is such a small thing, but it gives that little crunch that makes people think you bought them.
Step Up Your Homemade Muffin Game {video_youtube}
Once you get comfortable with these Gluten-Free Strawberry Muffins, you can start playing around without making them complicated. I am all for little upgrades that feel special but still fit real life.
Here are a few easy ways to level them up:
- Add lemon zest for a fresh, bright flavor
- Stir in mini chocolate chips for a strawberry chocolate vibe
- Top with sliced strawberries right before baking for a pretty look
- Mix a spoonful of strawberry jam into the batter for extra punch
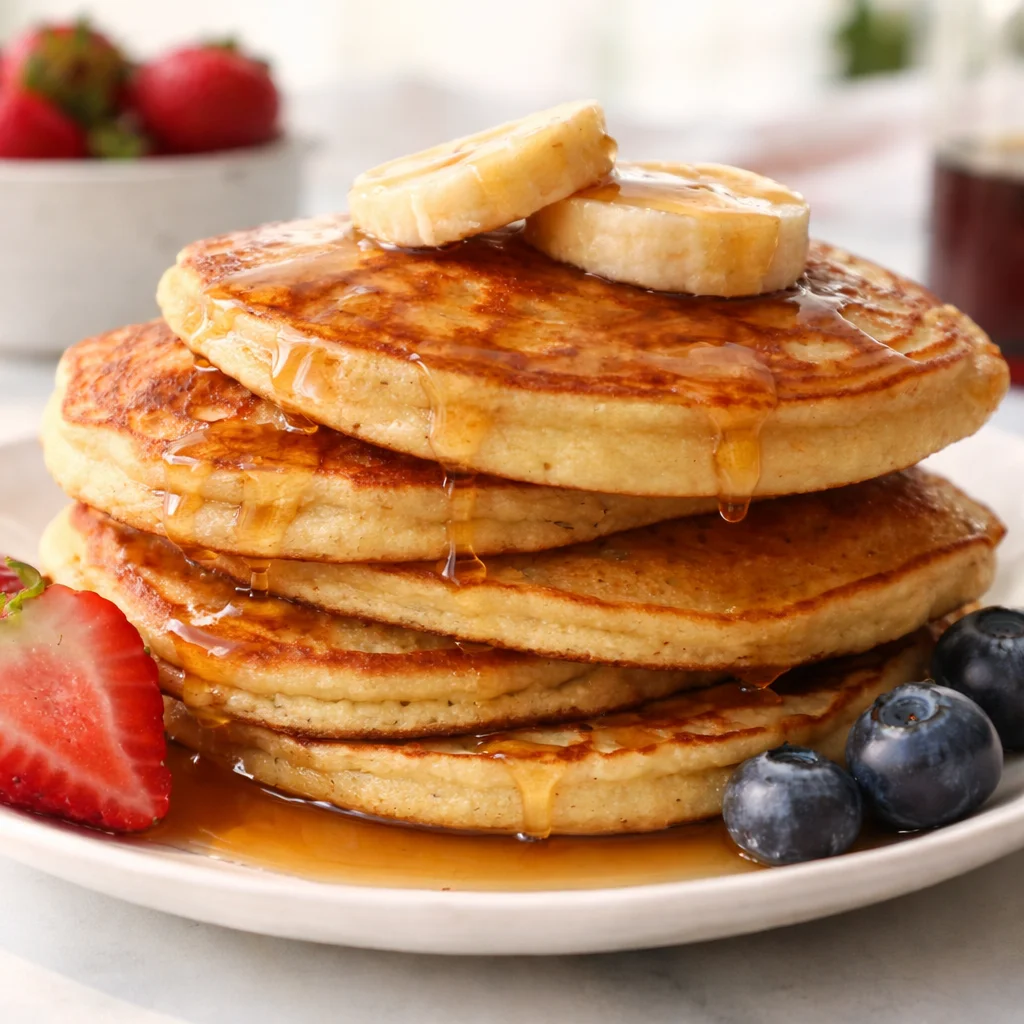
Serving ideas, because muffins deserve a moment:
Serve them warm with butter, or with a little cream cheese if you want that strawberry and cream feel. They also make a cute brunch plate with fruit and coffee. If you are doing a whole strawberry theme, you might also like this: gluten-free strawberry shortcake. It is one of those crowd pleasing desserts that feels like summer.
Storage tips:
Keep them in an airtight container at room temp for about 2 days. After that, I move them to the fridge for another couple days, or I freeze them. If you freeze, wrap them individually so you can grab one at a time.
And yes, you can double the batch. If you are already dirtying a bowl, you might as well make future you happy.
Free guide! 5 easy tips for baking like a gluten-free pro!
I get messages from friends who are new to gluten free baking and they always ask the same stuff. So here are my five simple tips that actually help, especially if you are trying to make muffins that taste like regular muffins.
My quick gluten free baking cheat sheet
Tip 1: Use a kitchen timer and do not overbake. Gluten free baked goods dry out faster than people expect.
Tip 2: Let batters rest when you can, even 10 minutes helps a lot.
Tip 3: Measure flour by spooning it into the cup and leveling it off. Scooping straight from the bag packs it down and you end up with too much flour.
Tip 4: Cool properly. Gluten free muffins set as they cool, so do not judge them the second they come out of the oven.
Tip 5: Keep a few reliable recipes on rotation. Once you trust your base muffin recipe, you can switch flavors easily.
If you like the idea of rotating muffin flavors and not wasting ingredients, you might also enjoy using leftovers in a smart way. These gluten-free sourdough discard muffins are a fun option when you have discard hanging around and want something easy.
Common Questions
Can I use frozen strawberries?
Yes, but expect a wetter batter. Keep them partially frozen, chop them small, toss with flour, and fold in quickly.
Why did my muffins turn out gummy?
Usually it is underbaking or the batter was overmixed. Next time bake a few extra minutes and stir less once wet meets dry.
How do I keep strawberries from sinking?
Dice them small and toss them with a teaspoon of your gluten free flour blend before folding them in.
Can I make these dairy free?
Totally. Use a non dairy milk and choose oil instead of butter. The texture stays nice and soft.
Can I freeze Gluten-Free Strawberry Muffins?
Yes. Let them cool fully, wrap individually, and freeze up to 2 months. Reheat in the microwave in short bursts until warm.
One last cozy note before you bake
If you make a batch of Gluten-Free Strawberry Muffins, I really think you will be surprised by how normal and bakery like they feel. Keep the batter simple, do not overmix, and let them cool a bit before you dive in. If you want more strawberry inspiration, I liked comparing notes with recipes like Gluten-Free Strawberry Muffins (Light & Fluffy) – Best Recipe! and Gluten Free Strawberry Muffins, and if you are feeling extra, these Gluten Free Strawberry Cheesecake Muffins – The Loopy Whisk are such a fun twist. Now go grab those strawberries and make your kitchen smell amazing. You have got this.

Gluten-Free Strawberry Muffins
Ingredients
Dry Ingredients
- 2 cups Gluten-free flour blend (1 to 1 baking flour) Different blends behave differently; if xanthan gum is not included, add a bit.
- 1 tbsp Baking powder
- 1/2 tsp Salt
- 1/2 cup Sugar (white or light brown) Adjust based on the sweetness of strawberries.
Wet Ingredients
- 2 large Eggs Use room temperature if possible.
- 1/2 cup Milk (dairy or non-dairy)
- 1/3 cup Oil or melted butter Oil keeps muffins softer for longer.
- 1 tsp Vanilla extract
Fruits
- 1 cup Fresh strawberries, diced Chop small and pat dry before adding.
Instructions
Preparation
- Preheat the oven to 350°F (175°C). Prepare a muffin pan with liners or grease well.
- In a large bowl, mix together all dry ingredients (flour blend, baking powder, salt, sugar).
- In a separate bowl, whisk together the wet ingredients (eggs, milk, oil, vanilla).
- Pour the wet ingredients into the dry ingredients and stir until just combined, ensuring not to overmix.
- Let the batter rest for 10 minutes to hydrate the flour.
- Fold in the chopped strawberries, ensuring they are evenly distributed.
Baking
- Fill muffin cups about 2/3 full with the batter.
- Sprinkle a pinch of sugar on top of each muffin for a bakery-style crunch.
- Bake for 18-20 minutes, or until the tops are set and a toothpick comes out clean, with a few moist crumbs.
- Let them cool in the pan for 10 minutes before transferring to a wire rack.